Dependencies
OpenFlipper is developed on top of the Qt framework. This framework provides easy cross platform development. Therefore an installed version of QT with at least version 5.9 is required. We use the cmake MakeFile generator to build OpenFlipper.
Required libraries
- 5.9 <= Qt <= 5.11 ( http://www.qt.io/download/ ) Use the OpenGL version. If you install Qt, please make sure that QtScript is also installed.
Optional libraries ( Without these libraries some functionality might not be available)
- QWT (>=6.0) ( optional, used for histogram plottings, http://qwt.sourceforge.net/)
Build System
The build system uses cmake to generate all makefiles.
Building OpenFlipper using Cmake
For the following section CMake >= 3.12 has to be installed. In the toplevel directory of OpenFlipper is a CMakeLists.txt file that specifies the build configuration and targets. See the following subsections for information on how to build OpenFlipper for your specific operating system.
Building OpenFlipper under Linux
-
First install the required libraries via your linux distributions package management e.g. apt or rpm (for the list of packages see above)
-
Extract the source code or get it via git:
git clone –recursive https://graphics.rwth-aachen.de:9000/OpenFlipper-Free/OpenFlipper-Free.git OpenFlipper-Free -
Create a build directory (e.g. build) next to the OpenFlipper source directory
mkdir build -
Change to the newly created directory
cd buildand typecmake ../OpenFlipper-Free - Now call make to build OpenFlipper
To switch between debug and release build, use
cmake -DCMAKE_BUILD_TYPE=Release ../OpenFlipper-Free
To change the install path use
-DCMAKE_INSTALL_PREFIX=[path]
The created application (binaries, libs and shared files) are located in the Build directory.
Building OpenFlipper under Windows
- Get Visual Studio 2015 or higher (We recommend 2017)
- Get cmake for windows from http://www.cmake.org/cmake/resources/software.html
- Get and Install Qt ( >= 5.9) , Visual Studio Version matching your installation )
- Download and install git (https://git-scm.com/downloads)
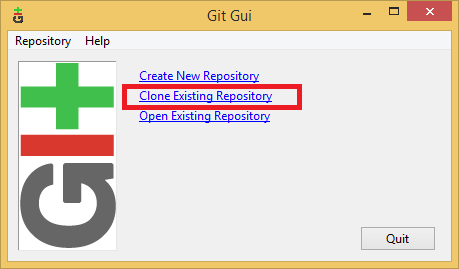
- Start git gui
-
Choose "Clone Existing Repository"
-
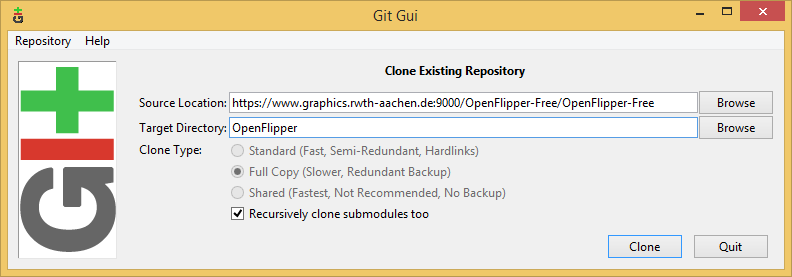
Enter the source location: "https://www.graphics.rwth-aachen.de:9000/OpenFlipper-Free/OpenFlipper-Free" and a target directory (We assume "C:\Development\OpenFlipper" as the target directory).
-
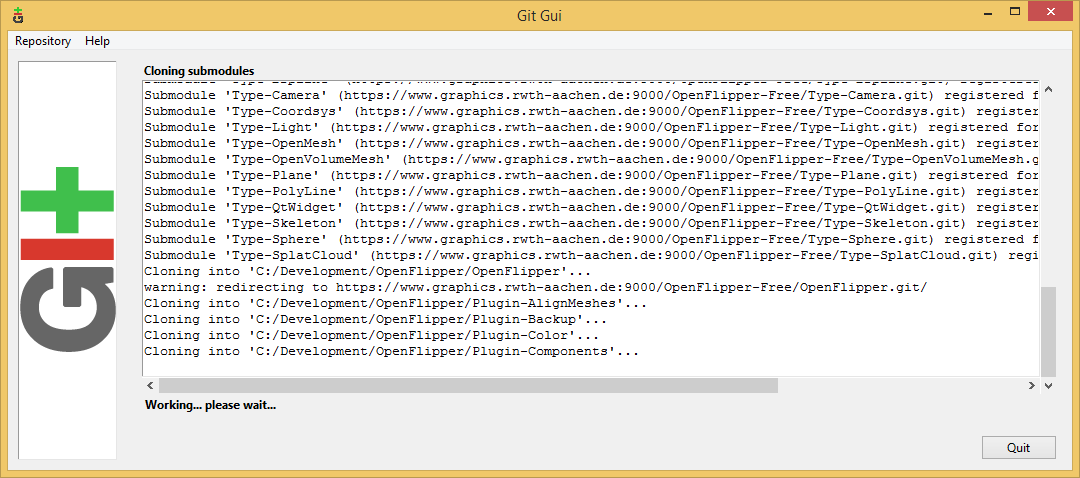
Git Gui will now download the source code
-
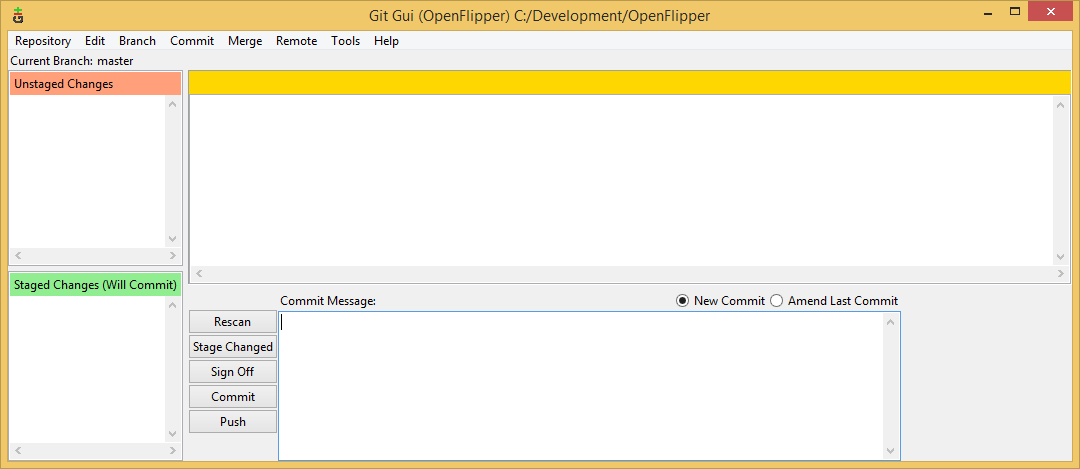
After download you can close the following window
-
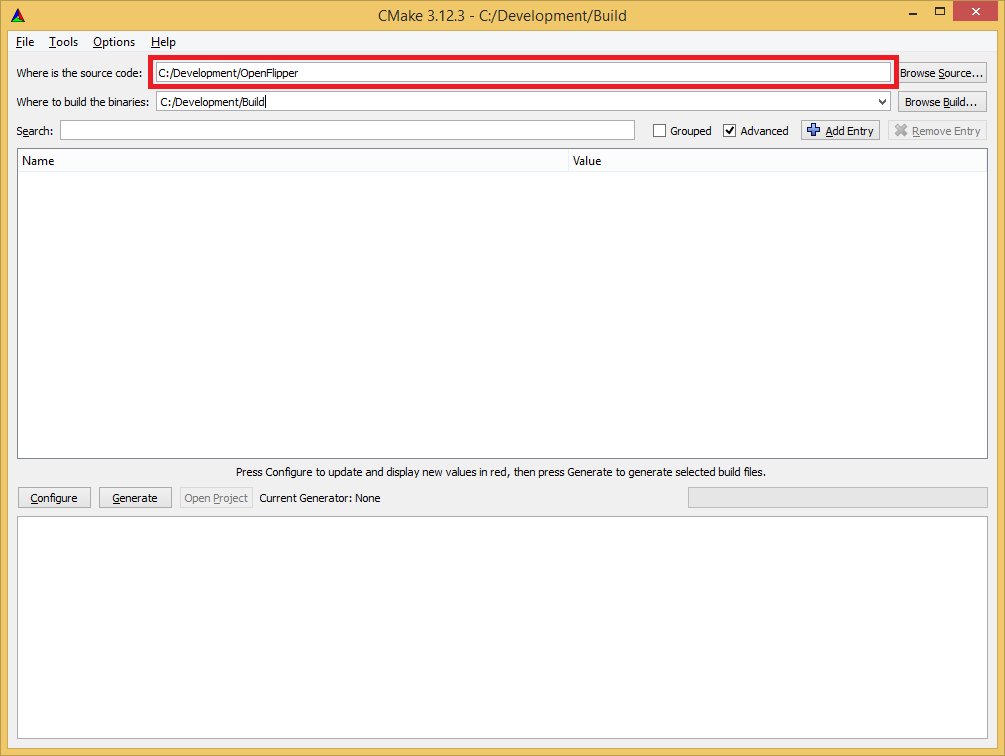
Now start cmake-gui and enter the location of the source code ("C:\Development\OpenFlipper" in our case).
-
Enter the target build directory ("C:\Development\Build" in our case).

-
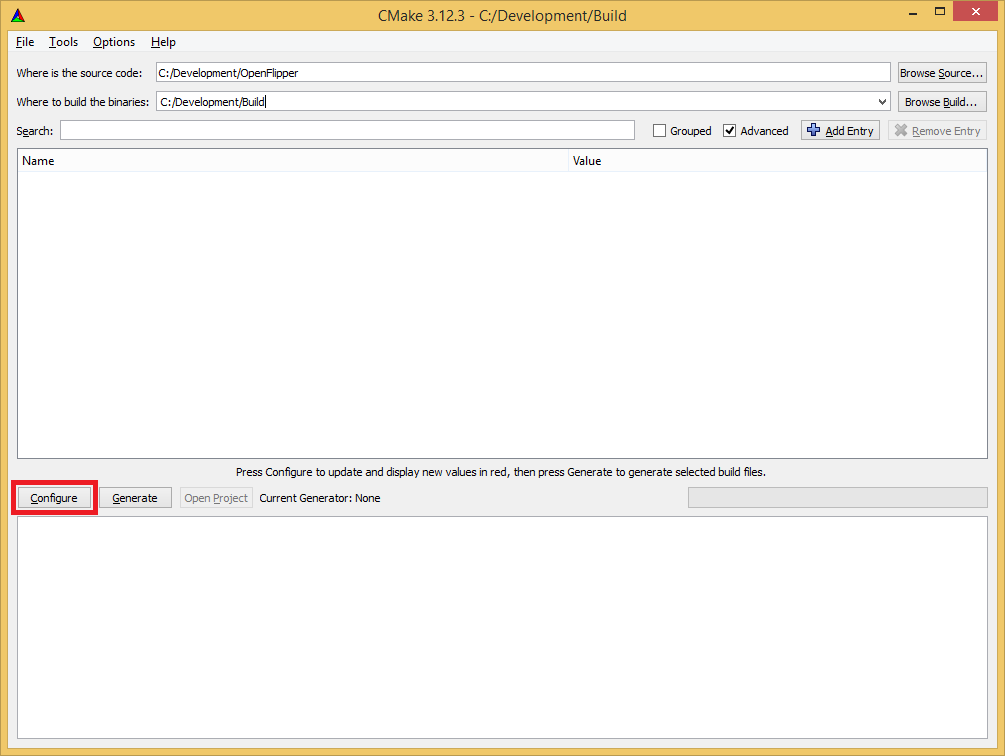
Click configure.
-
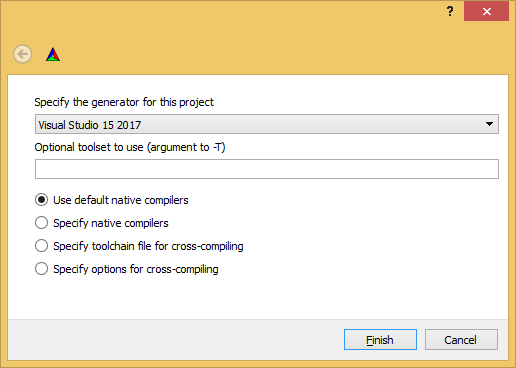
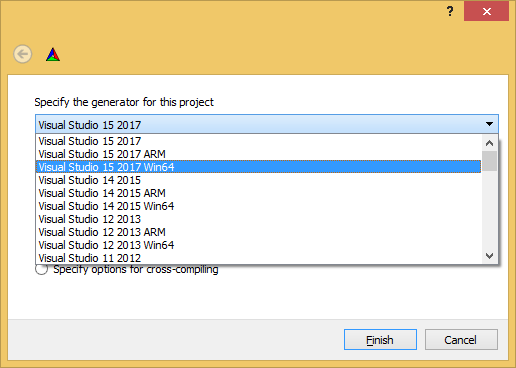
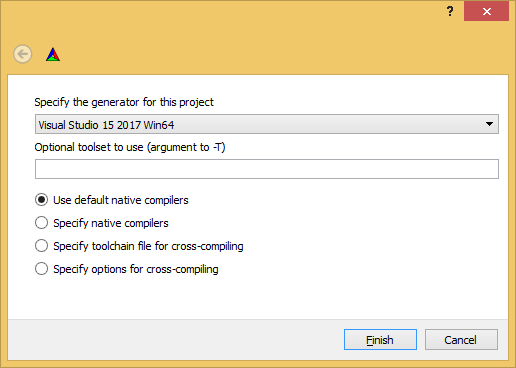
CMake now asks what generator we want to use.
-
We will use Visual Studio 2017 64-bit mode.
-
After selection, the window should look like this.
-
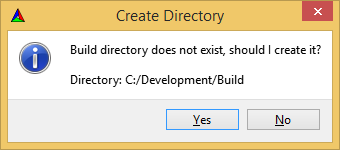
Afterwards, cmake will ask if we want to create the build directory, if it did not exist before. Choose yes here.
-
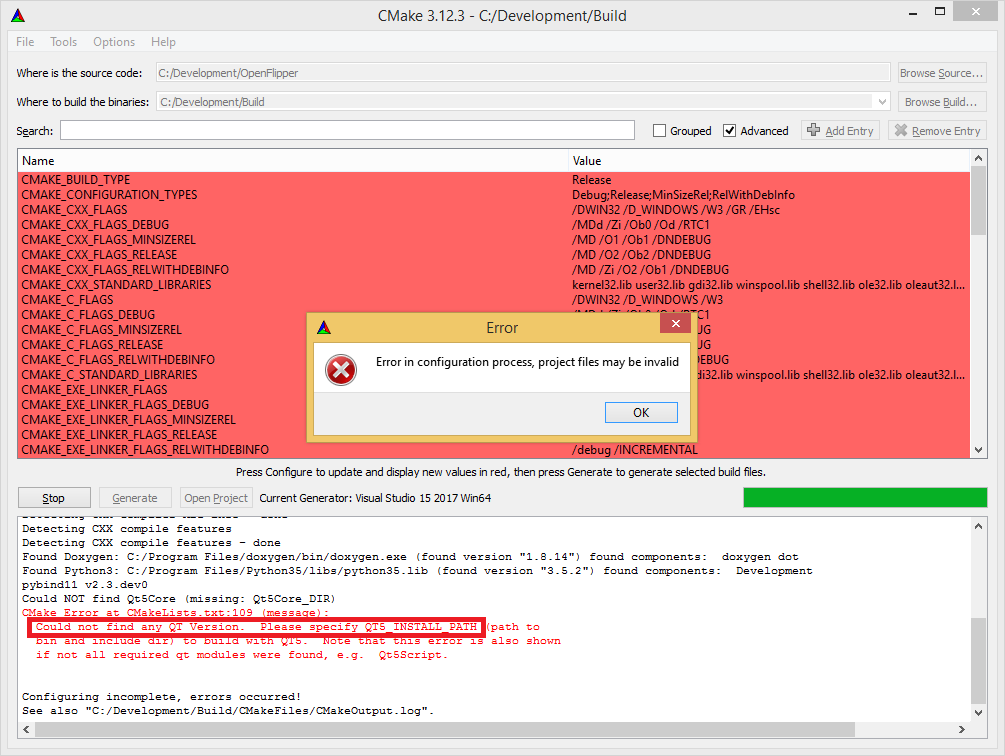
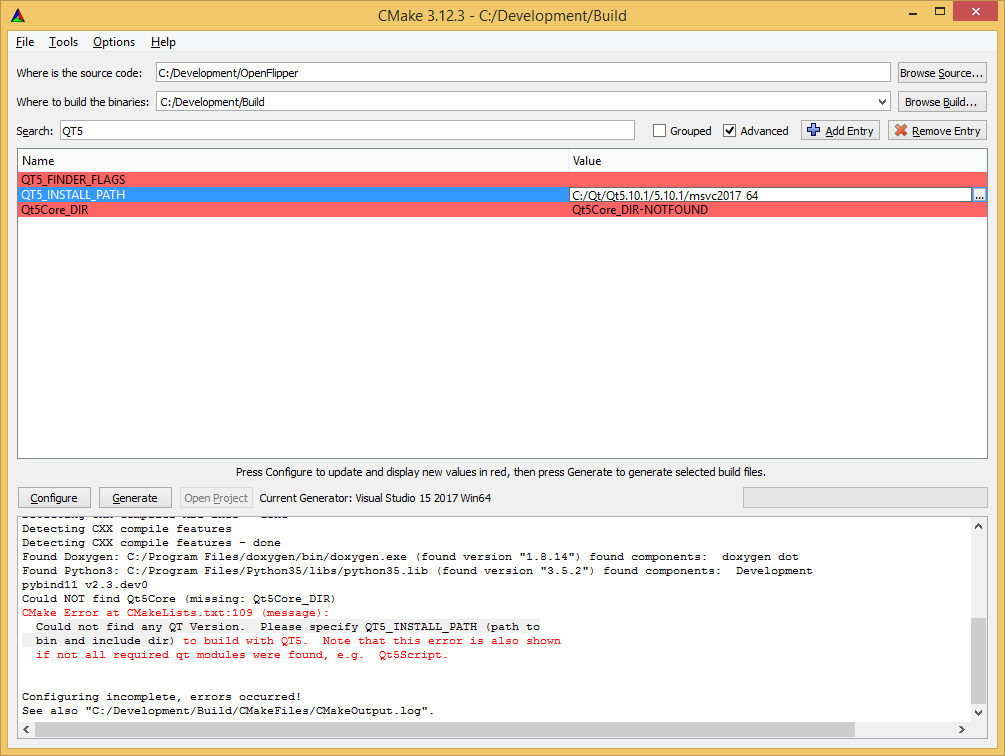
Now cmake will configure the project. Depending on install locations, it might not find your Qt installation automatically. Then you will get the error shown in the image.
-
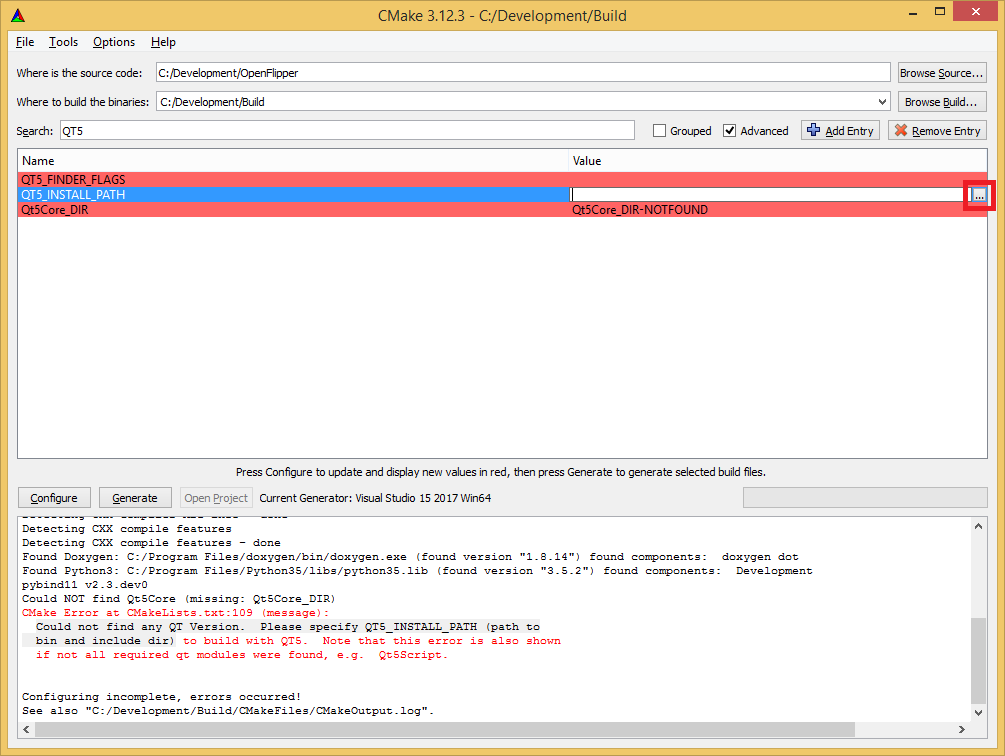
To fix this, search for QT5 in the search box. If nothing shows up, you have to enable the checkbox called "Advanced". You should find a variable called QT5_INSTALL_PATH. Click on the three dots on the right of the input box.
-
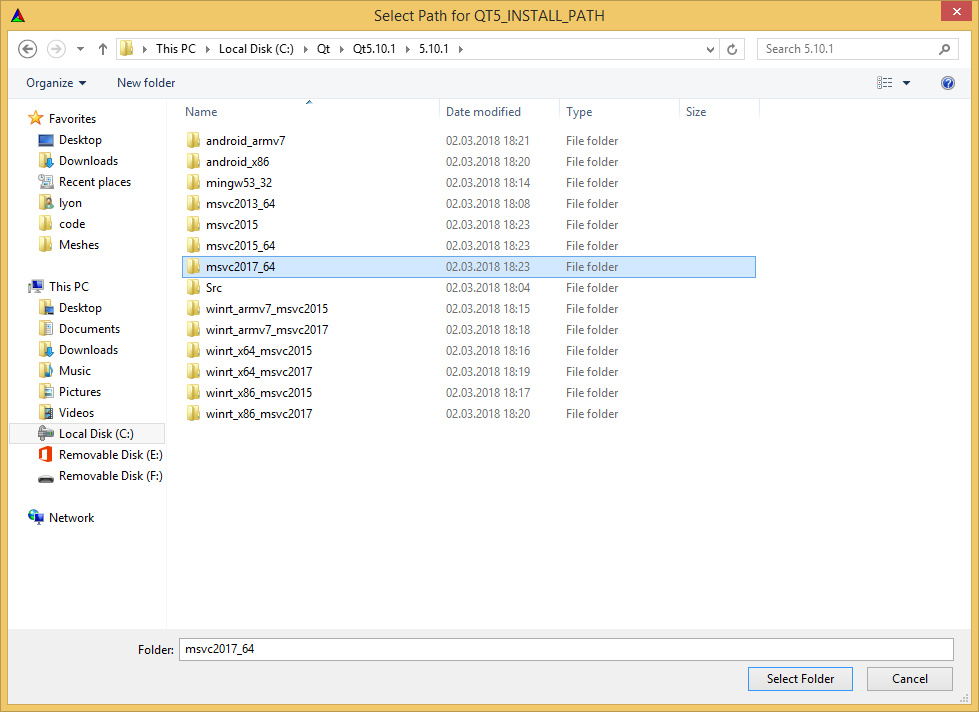
Navigate to your Qt installation directory. Choose the qt version folder matching your generator (In our case, Visual Studio 2017 64-bit and therefore msvc2017_64) and click "Select folder".
-
The path should now be set correctly.
-
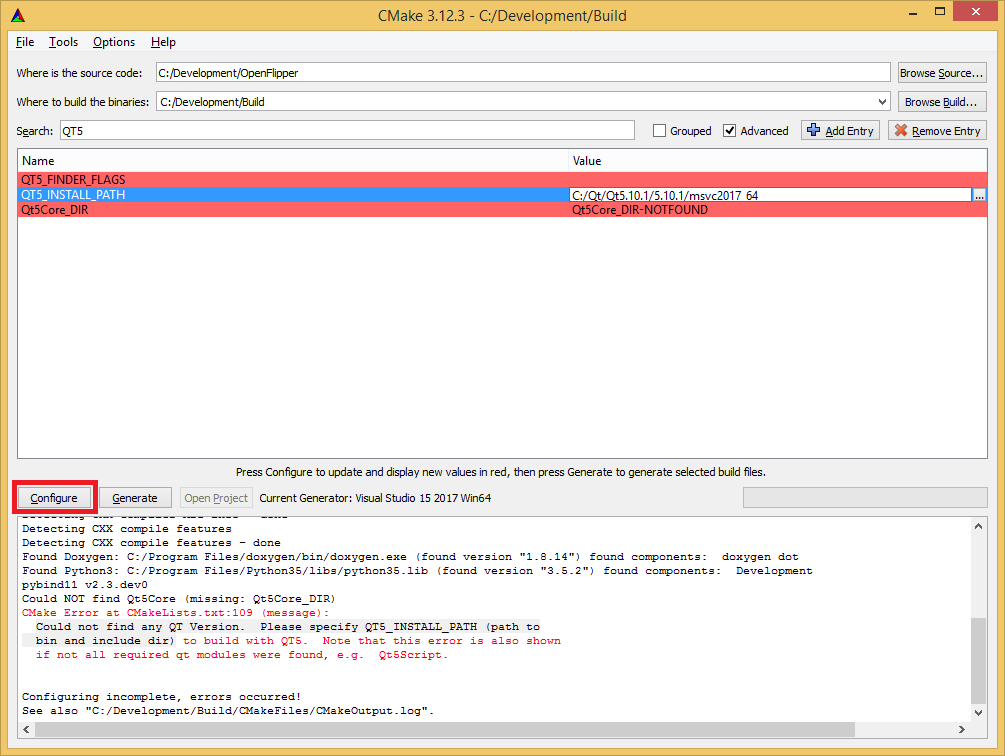
Run configure again.
-
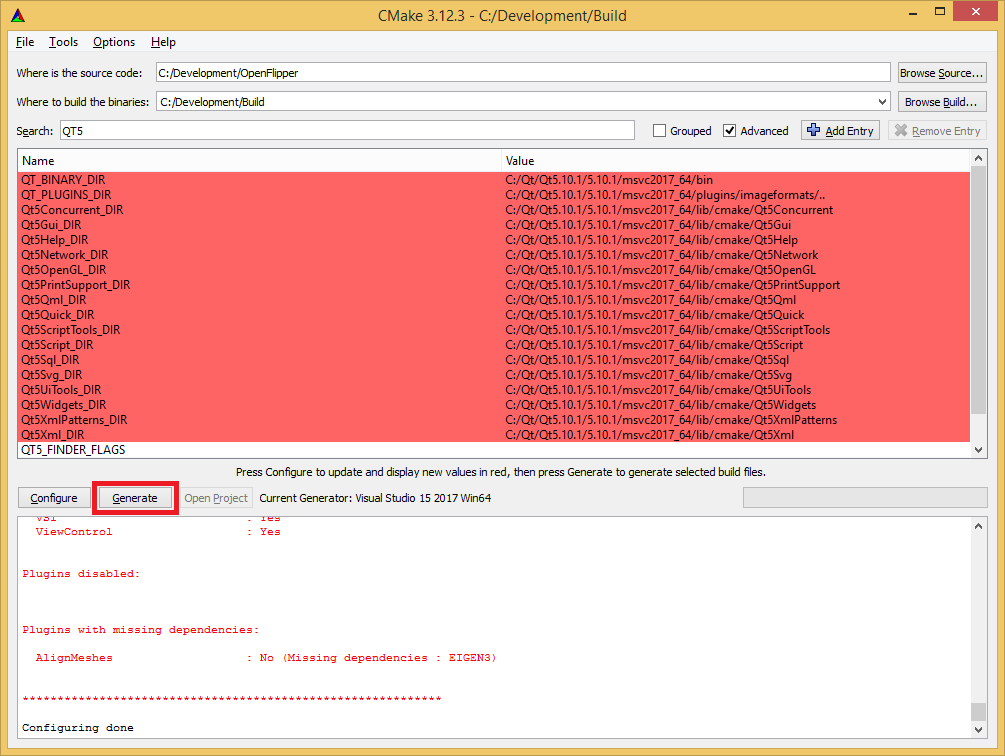
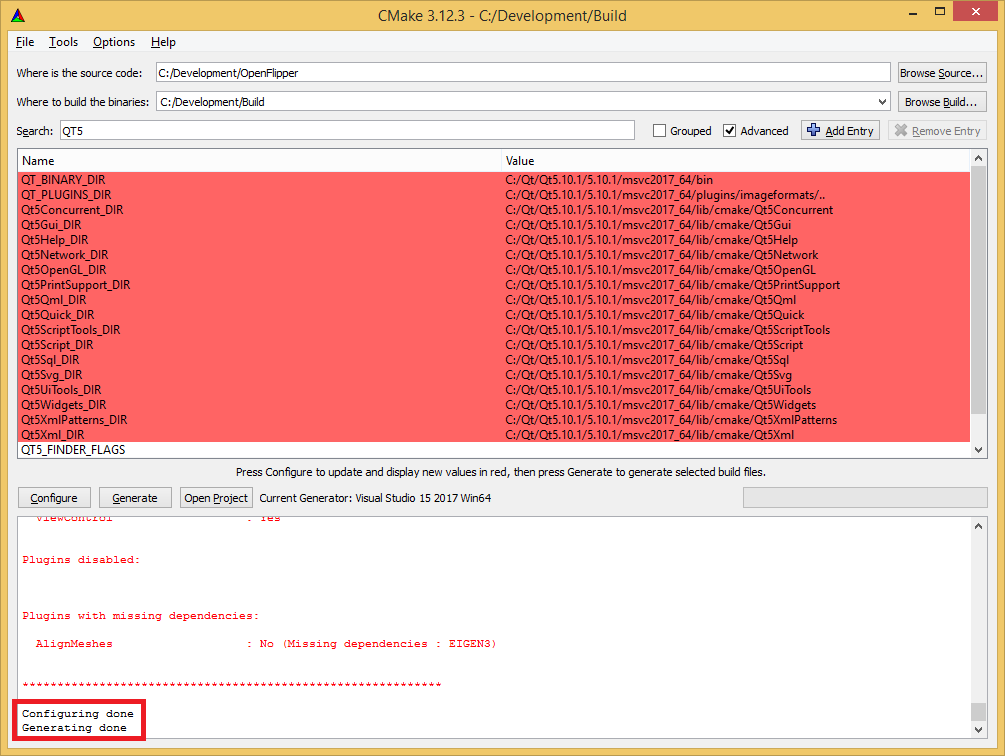
After configuring, you should see "Configuring done" in the output. Now click on "Generate".
-
If everything went fine, you should also have a "Generating done" in the log.
-
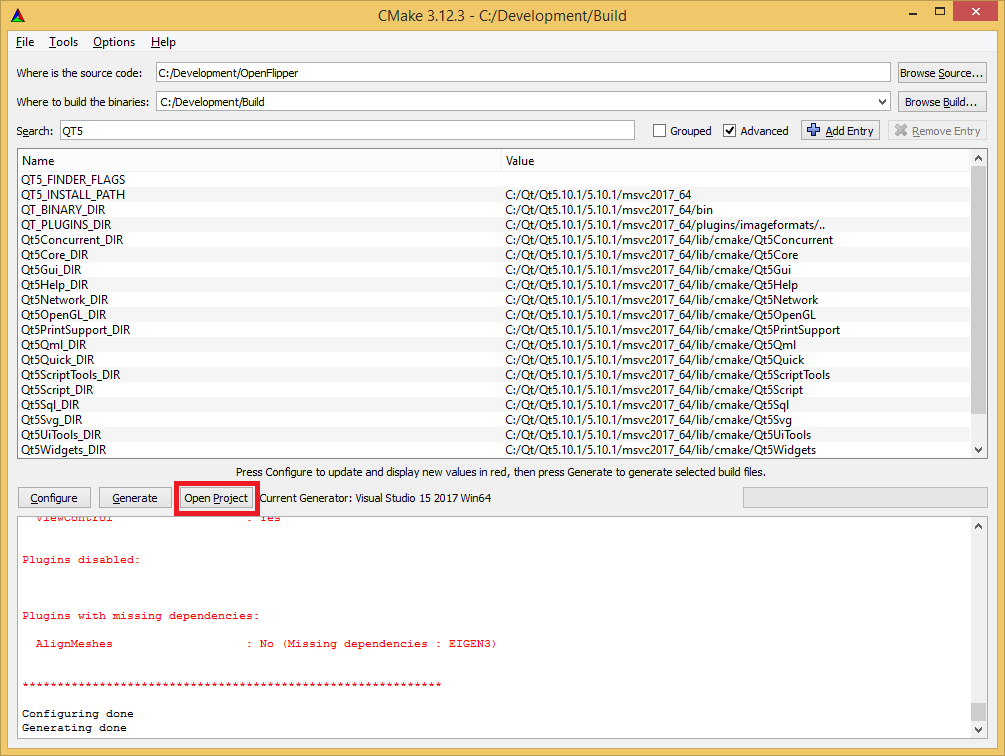
Now you can open the generated Visual Studio project. Either by pressing the "Open Project" Button"
-
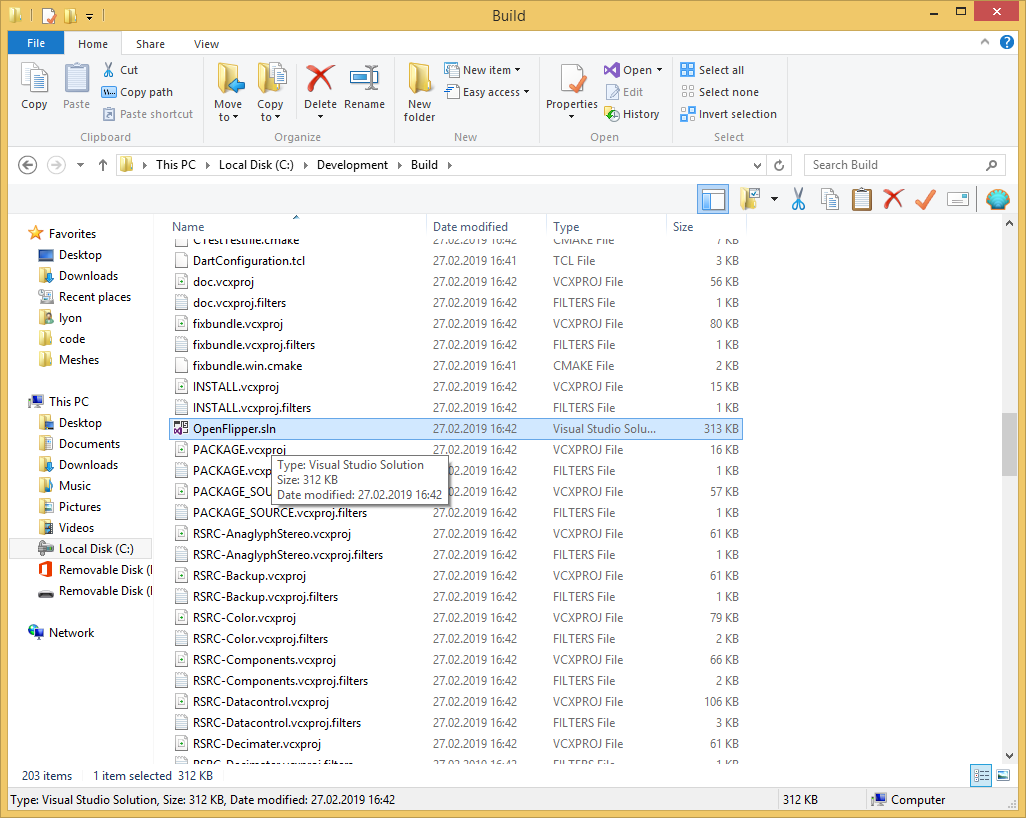
Or by navigating with the explorer to the build folder and opening the "OpenFlipper.sln" file.
-
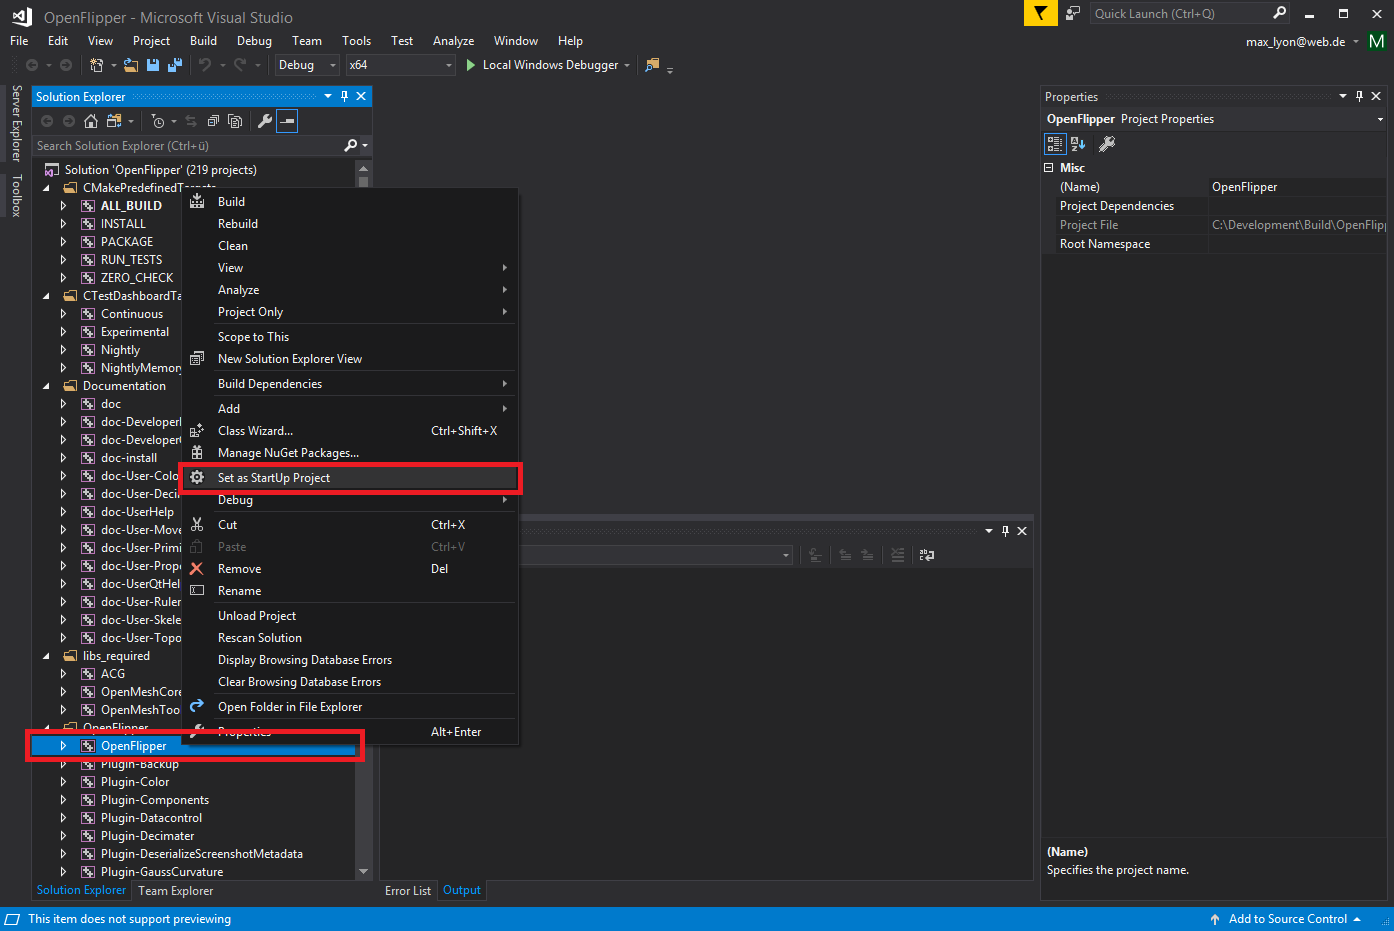
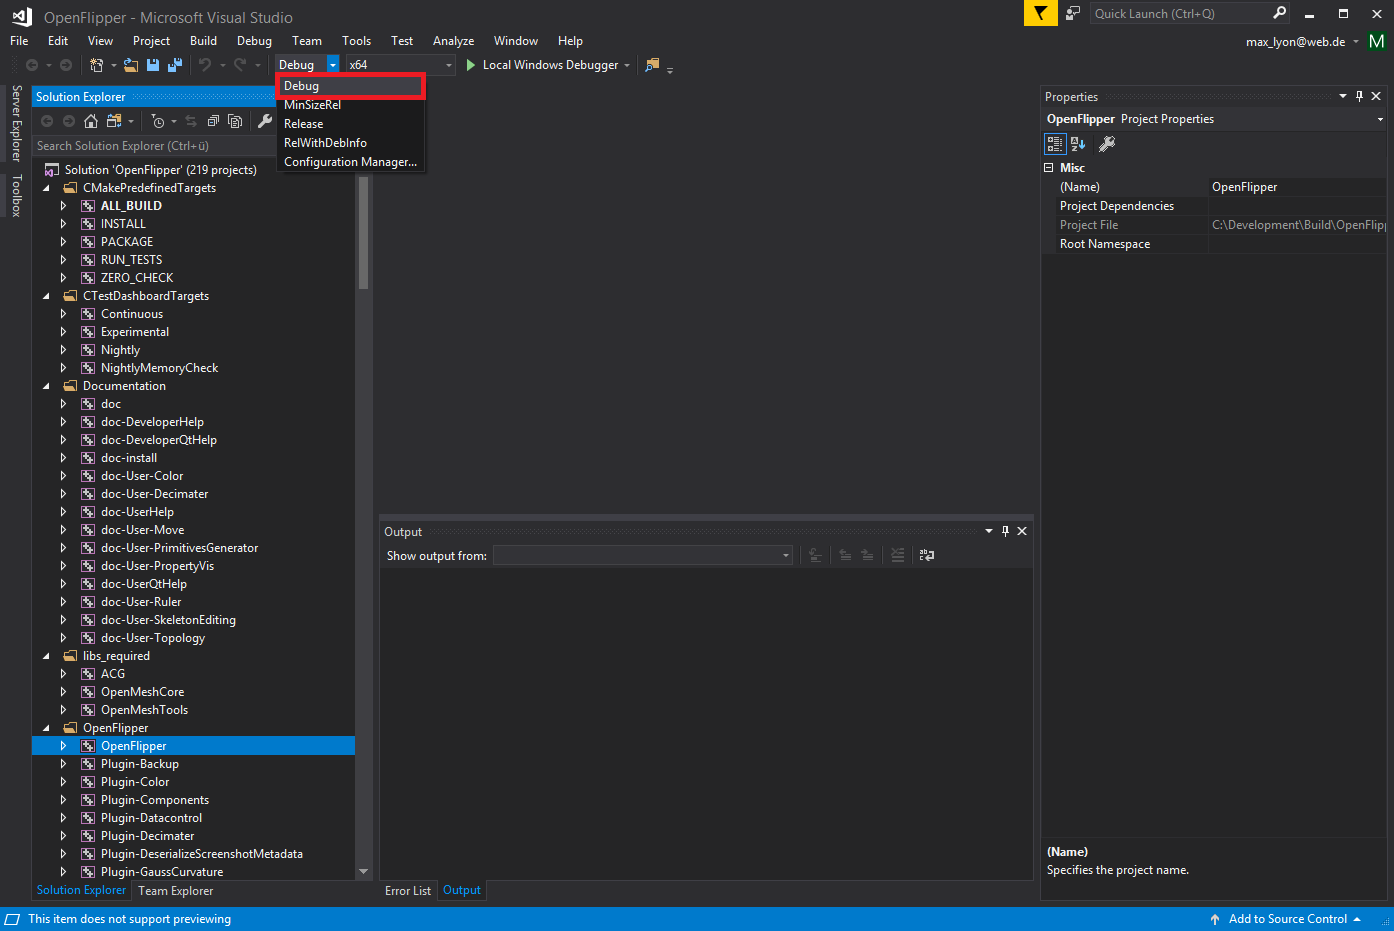
Make sure that OpenFlipper is the startup project.
-
At the top, you can choose the build type for your project.
-
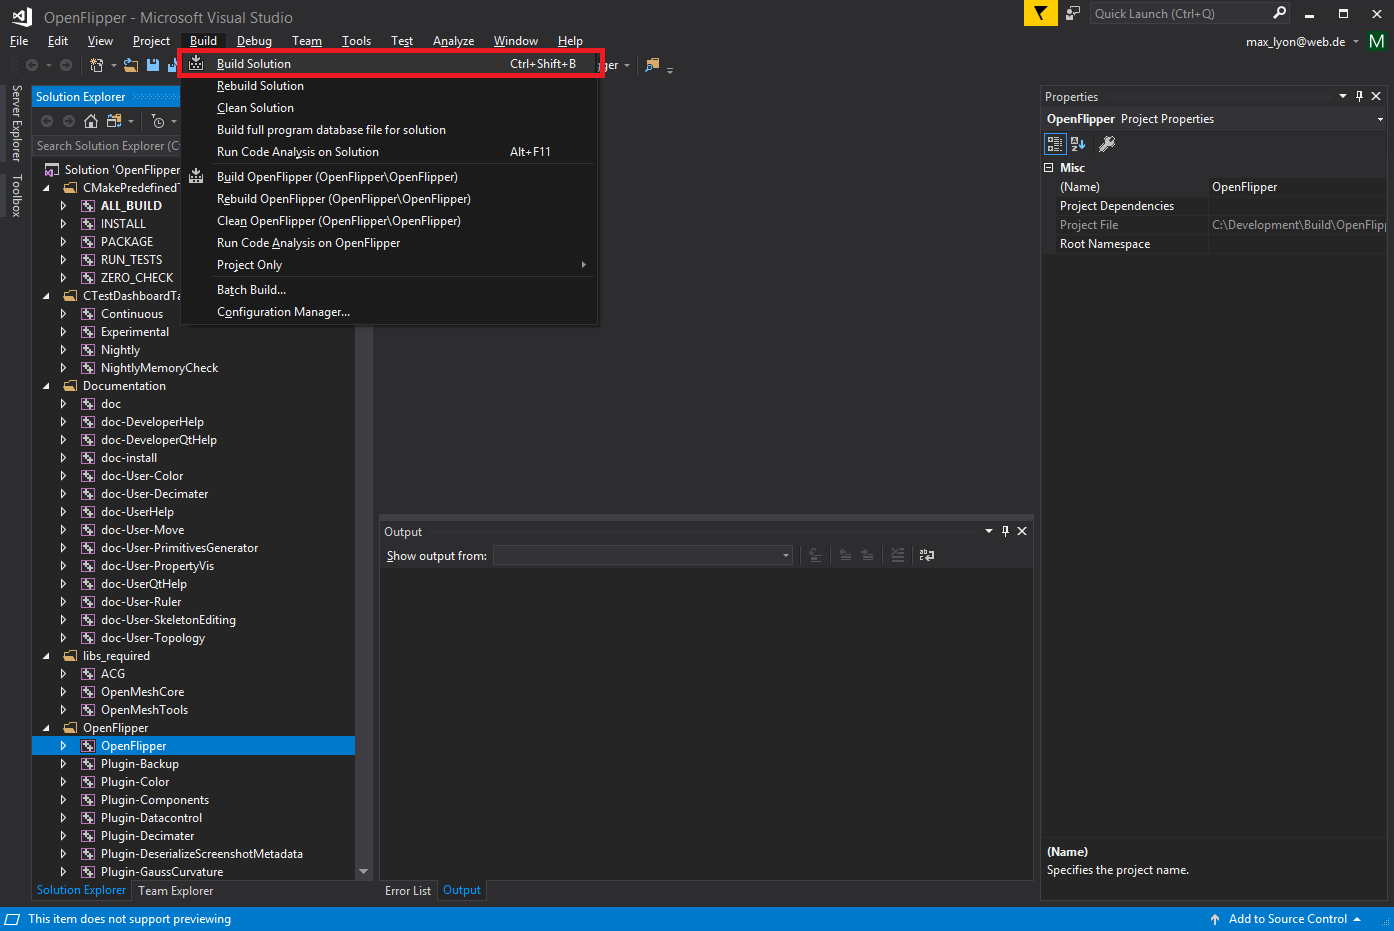
Now you can build the solution. This will compile OpenFlipper and all plugins.
-
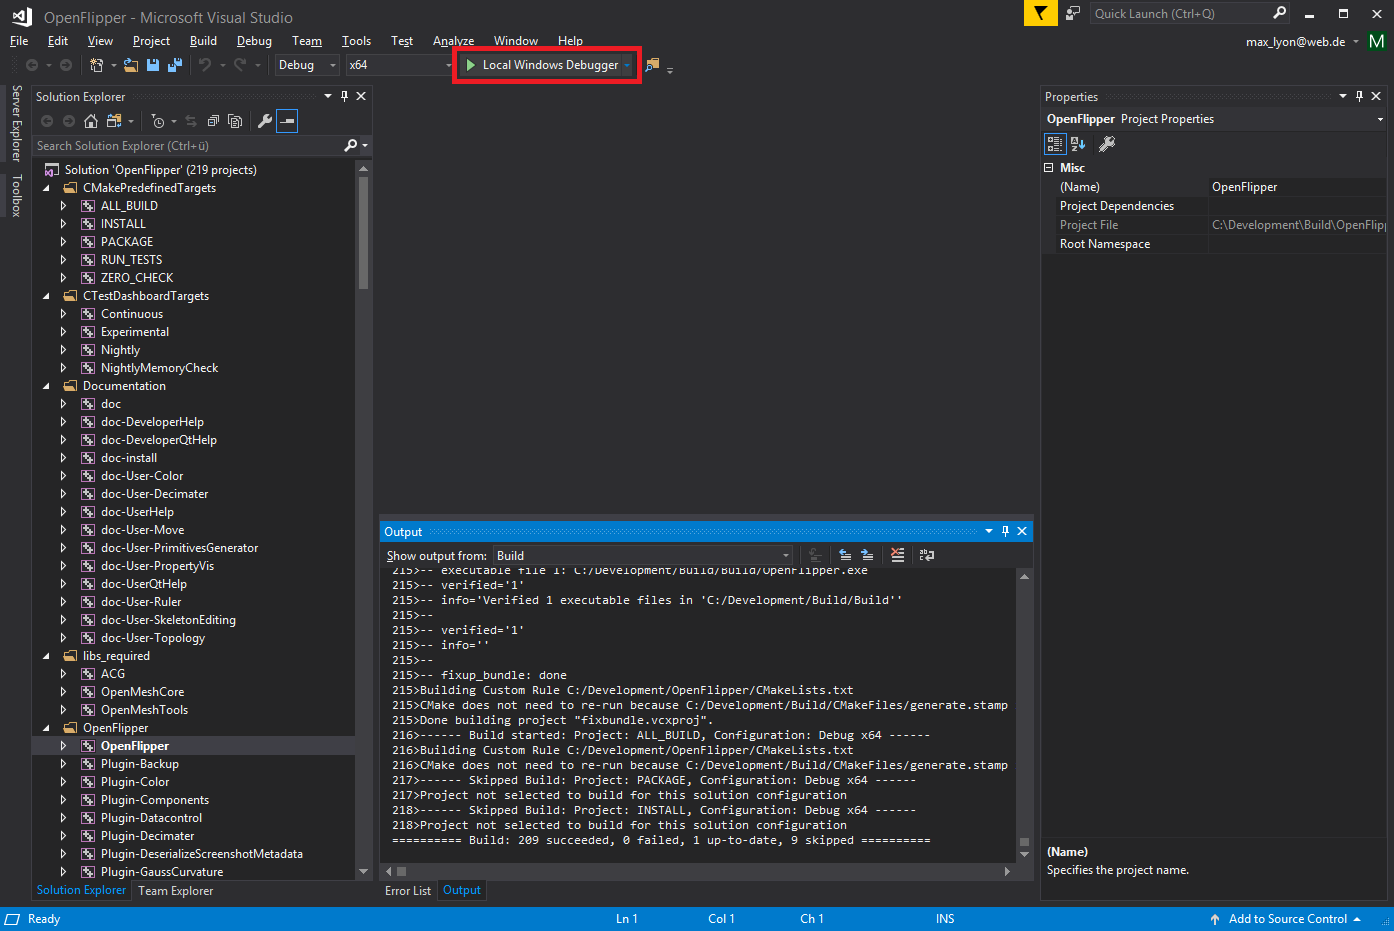
If everything has been compiled, you can start OpenFlipper by clicking on the run button at the top.
- Note
- If you want to build OpenFlipper as release on windows, you don't have to set the CMAKE_BUILD_TYPE variable to "Release" before configuring generating the Visual Studio solution file. Instead, choose the build type "Release" in Visual Studio and build the solution. Console outputs are only available in Visual Studio, when the "Debug" configuration is selected, or the -c option is passed as command line option.
Building OpenFlipper under MacOS X
-
First install the required libraries
To get all required libraries you should use the macports project: http://www.macports.org/
Install at least the following ports:
qt4-mac +debug
cmake
br /> As additional ports we recommend the following
fftw-3
qwt-60 +debug +qt4
subversion
doxygen
-
Extract the source code or get it via svn:
git clone –recursive https://graphics.rwth-aachen.de:9000/OpenFlipper-Free/OpenFlipper-Free.git OpenFlipper-Free -
Create a build directory (e.g. build) next to the OpenFlipper-Free directory:
mkdir build -
Change to the newly created directory (
cd build) and typecmake ../OpenFlipper-Freeor if you want to build in release mode typecmake -DCMAKE_BUILD_TYPE=Release ../OpenFlipper-Free
You can also enable bundle creation by adding-DOPENFLIPPER_CALL_FIX_BUNDLE=trueto the cmake command line (If you want a bundle containing all required libraries. Otherwise, the libraries will be used at their original locations.) - Now call make to build OpenFlipper
The created application bundle can be found in the Build directory. If you build with -DOPENFLIPPER_CALL_FIX_BUNDLE=true, the bundle will contain all required libraries.
You can also create a drag and drop installer for mac by calling make OpenFlipper_package. This will also call fixbundle on your Bundle. Note: When fixbundle has been called, the rpaths will be switched to local libraries. Concurrent builds, will still reference the global ones, which will cause inconsistencies and crashes! You have to call fixbundle after each build if it has been called once.
Building OpenFlipper Plugins with CMake
Building plugins with CMake is very simple. The OpenFlipper CMake build system expects a CMakeLists.txt file in each of the plugin's directories. So when developing a plugin, just make sure there is a CMakeLists.txt in your plugin's directory. In this file include the global file plugin.cmake which specifies the openflipper_plugin() function:
include(plugin)
You then have to add the following line which configures the build parameters of your plugin:
openflipper_plugin()
Note: There are several parameters that one can pass to this function. Usage:
For a detailed description of the parameters see the CMake documentation. For an example of how to build a simple plugin see A simple plugin.